
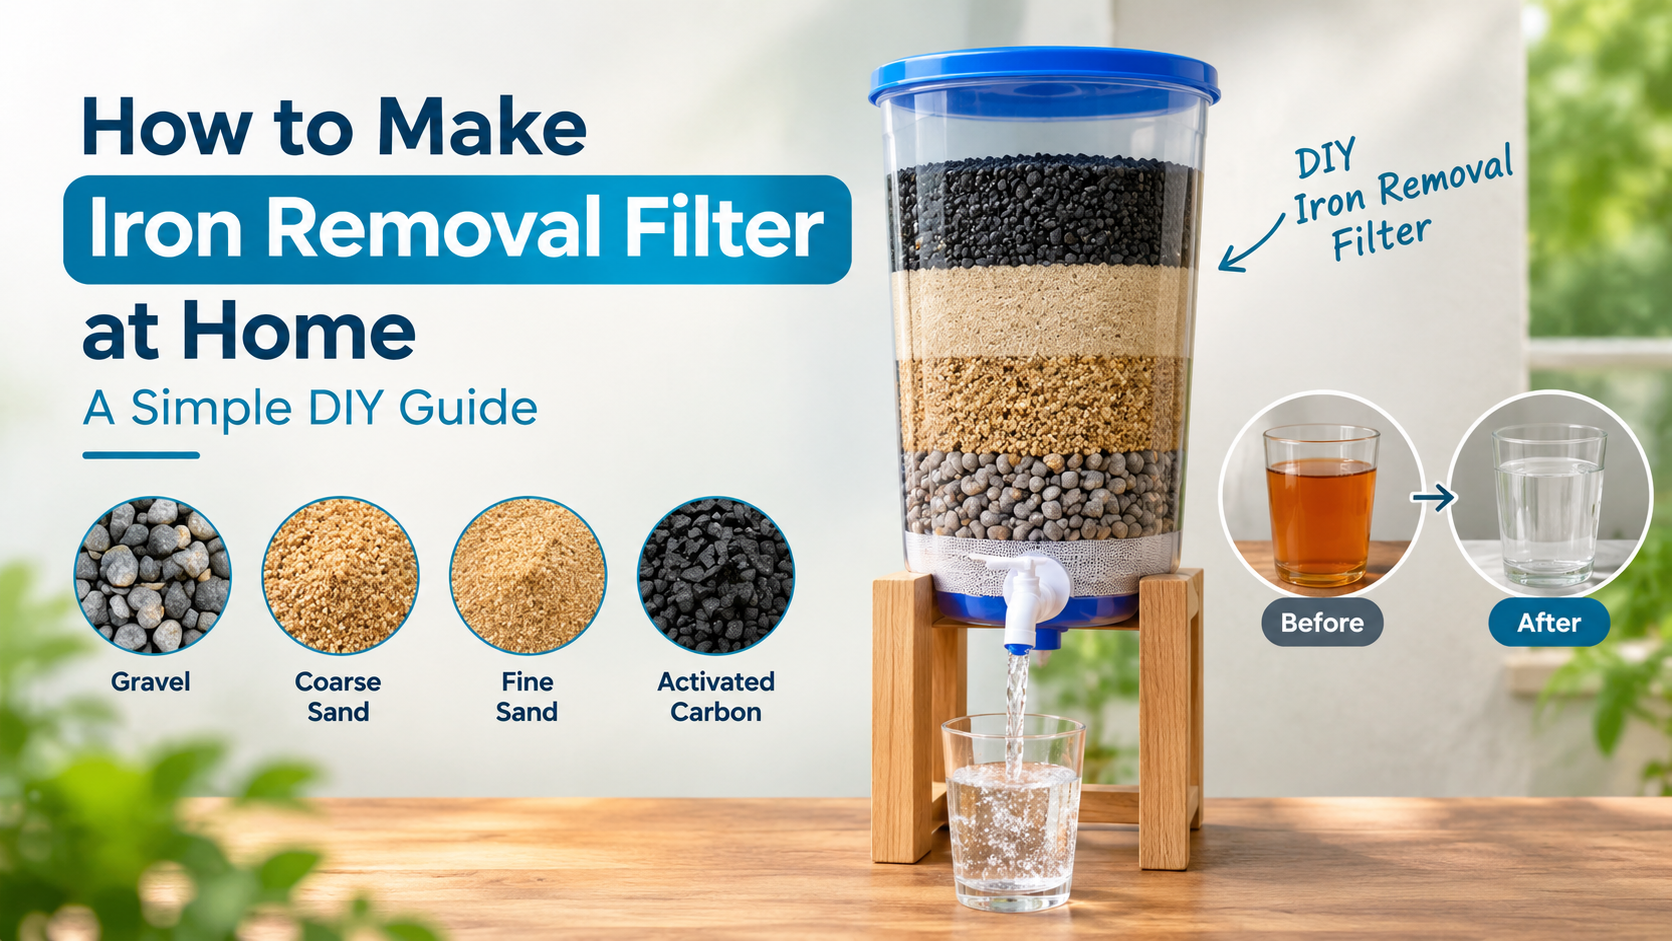
If your borewell water looks yellow or reddish, leaves brown stains on bathroom fixtures, or has a metallic smell or taste, excess iron may be present in the water. A simple iron removal filter at home can be made using commonly available filter materials for basic treatment.
However, homemade filtration has limitations. The effectiveness depends on the iron concentration, pH, water flow, and type of iron present. For drinking water or high-iron borewell water, proper water testing and a professionally designed iron removal system are recommended.
What Is an Iron Removal Filter?
An iron removal filter is a water-treatment system designed to reduce dissolved and suspended iron from water.
Iron can occur in two common forms:
- Ferrous iron (Fe²⁺): Dissolved iron that may make water appear clear initially.
- Ferric iron (Fe³⁺): Oxidized iron that can create reddish-brown particles and sediment.
A typical iron removal process involves oxidation followed by filtration. The dissolved iron is converted into particles that can then be trapped by suitable filter media.
Can You Make an Iron Removal Filter at Home?
Yes, you can make a simple DIY filter for demonstration or preliminary filtration. A basic setup can use a container filled with layers of filtration media.
A simple arrangement may include:
- Gravel
- Coarse sand
- Fine sand
- Activated carbon
- Filter cloth or mesh
But it is important to understand that sand and activated carbon alone may not effectively remove dissolved iron, particularly when iron levels are high.
A properly designed commercial iron removal filter generally uses a suitable iron-removal media and controlled oxidation/backwashing.
Materials Required
For a basic DIY filtration experiment, you may need:
- Food-grade plastic container or suitable filter housing
- Gravel
- Coarse sand
- Fine sand
- Activated carbon
- Clean filter cloth or mesh
- PVC pipe or outlet fitting
- Collection container
- Clean water for washing the media
Use clean, appropriate-quality materials. Avoid containers that previously held chemicals, pesticides, oils, or other hazardous substances.
Step 1: Prepare the Container
Take a clean container and create an outlet at the bottom.
The outlet should allow filtered water to flow out while preventing the filtration media from escaping.
Place a clean filter cloth or suitable mesh above the outlet.
This helps retain the smaller filtration materials.
Step 2: Add the Gravel Layer
Place a layer of washed gravel at the bottom.
The gravel provides drainage and helps prevent fine filtration media from blocking the outlet.
Wash the gravel thoroughly before putting it into the filter.
Step 3: Add Coarse Sand
Add a layer of clean coarse sand above the gravel.
Coarse sand helps trap larger suspended particles and sediment.
The thickness of the layer depends on the size of the container, but maintaining separate, reasonably deep layers is preferable to creating a very thin filter bed.
Step 4: Add Fine Sand
Place washed fine sand above the coarse sand.
Fine sand can capture smaller suspended particles.
This stage is particularly useful when the water contains visible sediment or oxidized iron particles.
However, remember that fine sand primarily provides physical filtration. It does not automatically remove all dissolved iron.
Step 5: Add Activated Carbon
A layer of activated carbon can be added above the sand.
Activated carbon is commonly used for reducing certain organic compounds, chlorine, taste, and odour.
It should not be considered the primary iron-removal medium.
If your main problem is high dissolved iron, a dedicated iron-removal media system is generally more appropriate.
Step 6: Wash the Filter Media
Before using the filter, flush the entire setup with clean water.
The first water coming from a new filter may contain dust from the sand, carbon, or gravel.
Continue flushing until the outlet water becomes reasonably clear.
Step 7: Test the Filter
Pass the affected water slowly through the filter and collect the outlet water.
Compare the water before and after filtration.
You may notice an improvement in colour or suspended particles, but visual appearance alone cannot confirm that dissolved iron has been removed.
For meaningful results, test the water using a suitable iron water test before and after filtration.
How Does an Iron Removal Filter Work?
A professionally designed system usually follows a different principle from a basic homemade sand filter.
The general process is:
Raw water → Oxidation → Iron precipitation → Filtration → Treated water
During oxidation, dissolved ferrous iron can be converted into ferric iron particles. These particles can then be captured by appropriate filtration media.
Depending on the raw-water quality, the system may use aeration, oxidation chemicals, catalytic media, or other treatment methods.
Why a DIY Filter May Not Remove All Iron
This is one of the most important points when making an iron removal filter at home.
Dissolved iron can pass through ordinary sand and carbon filtration if it has not first been converted into a filterable form.
The effectiveness of treatment can depend on:
- Iron concentration
- Water pH
- Type of iron
- Manganese concentration
- Turbidity
- Organic matter
- Flow rate
- Contact time
- Filter-media type
Therefore, a homemade filter that works for one water source may not work for another.
How to Improve Iron Removal
If your water contains significant iron, a more effective approach is to introduce an oxidation stage before filtration.
For example:
Borewell water → Aeration → Contact tank → Iron-removal media → Sand filtration → Storage
The exact arrangement should be selected after water analysis.
For household borewell water with persistent iron staining, a properly sized iron removal filter can provide more consistent performance than a homemade filter.
Is Homemade Iron Removal Water Safe to Drink?
Do not assume that clear-looking water is safe to drink.
Iron is only one possible water-quality parameter. Borewell water can also contain hardness, manganese, nitrate, fluoride, microbial contamination, or other dissolved substances.
A DIY filter should therefore not be treated as a complete drinking-water purification system.
If the water is intended for drinking, test the source water and use an appropriate certified treatment process.
When Should You Choose a Commercial Iron Removal Filter?
A professionally designed system is worth considering when:
- Your borewell water has persistent iron stains.
- Water turns reddish or yellow after standing.
- Iron concentration is high.
- You need continuous water supply.
- Multiple people use the water.
- You need treatment for an apartment or commercial building.
- The water is required for industrial applications.
- A DIY filter provides inconsistent results.
The filter capacity should be selected according to water quality and required flow rather than simply choosing the largest or cheapest system.
Final Thoughts
Making a basic iron removal filter at home is possible using layers of gravel, sand, and other filtration materials. However, these simple filters are mainly useful for basic sediment and oxidized-particle filtration.
For dissolved iron, high-iron borewell water, or continuous household and commercial applications, the treatment process should be designed according to the actual water analysis.
Jei Aqua Tech provides iron removal filter solutions, installation, service, and maintenance in Chennai. If your borewell water is causing iron stains or discoloration, testing the water first can help determine the appropriate filtration method.

Written by Seoadmin


-
Sale Product on sale
 300 GPD Hi-Tech RO Membrane
₹ 3,500Original price was: ₹ 3,500.₹ 2,700Current price is: ₹ 2,700. -
Sale Product on saleVontron 300 Gpd RO Membrane
₹ 3,500Original price was: ₹ 3,500.₹ 3,000Current price is: ₹ 3,000. -
Sale Product on sale300 Gpd Healthy RO Membrane
₹ 4,200Original price was: ₹ 4,200.₹ 3,700Current price is: ₹ 3,700. -
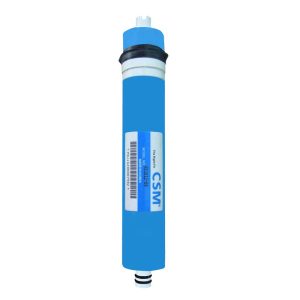
Sale Product on saleCsm 80 GPD Membrane
₹ 2,500Original price was: ₹ 2,500.₹ 1,600Current price is: ₹ 1,600.

-
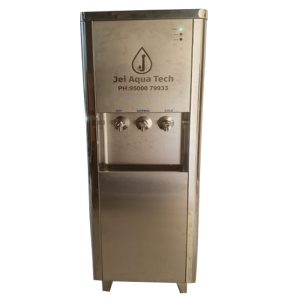
Sale Product on sale50 LPH RO+Hot+Cold Water Dispenser
₹ 82,000Original price was: ₹ 82,000.₹ 75,000Current price is: ₹ 75,000. -
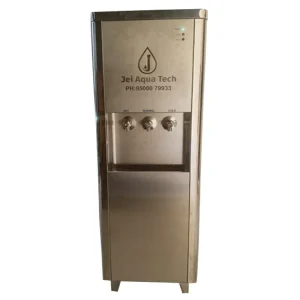
Sale Product on sale25 LPH RO+Hot+Cold Water Dispenser
₹ 66,000Original price was: ₹ 66,000.₹ 64,900Current price is: ₹ 64,900. -
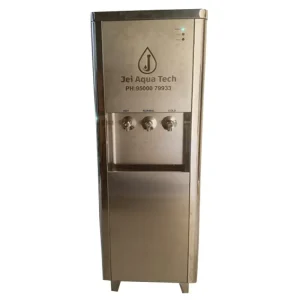
Sale Product on saleNormal+Hot+Cold Water Dispenser
₹ 58,500Original price was: ₹ 58,500.₹ 57,800Current price is: ₹ 57,800.
Leave a Reply
You must be logged in to post a comment.